MemCachier launches on Windows Azure Store with Discount Pricing!
Today we officially launched on the Windows Azure Store! We’ve supported Windows Azure with MemCachier for a few weeks now but weren’t integrated into their store and management interface. After some hard work to upgrade our Haskell provisioning server, we’re now have full support for Windows Azure.
As part of this launch we’re offering great initial pricing for all customers. This pricing should be in effect until at least the end of the year, so great time now to take advantage of it. The exact pricing (in US dollars) is:
- Developer (25MB) Cache - Free!
- Developer (100MB) Cache - $10
- Developer (250MB) Cache - $20
- Developer (500MB) Cache - $30
- Basic (1GB) Cache - $50
- Basic (2.5GB) Cache - $100
- Basic (5GB) Cache - $200
- Basic (7.5GB) Cache - $300
- Basic (10GB) Cache - $400
- Basic (20GB) Cache - $800
To signup and manage MemCachier through Windows Azure, simply follow these steps.
1. Find the Windows Azure Store
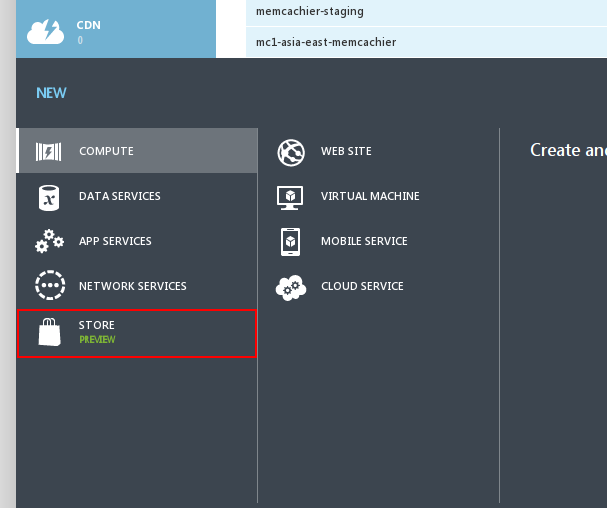
Log on to Windows Azure and then click on the ‘Add’ button in the bottom left corner.

Next, you’ll want to click on the ‘Store’ option from the add menu.
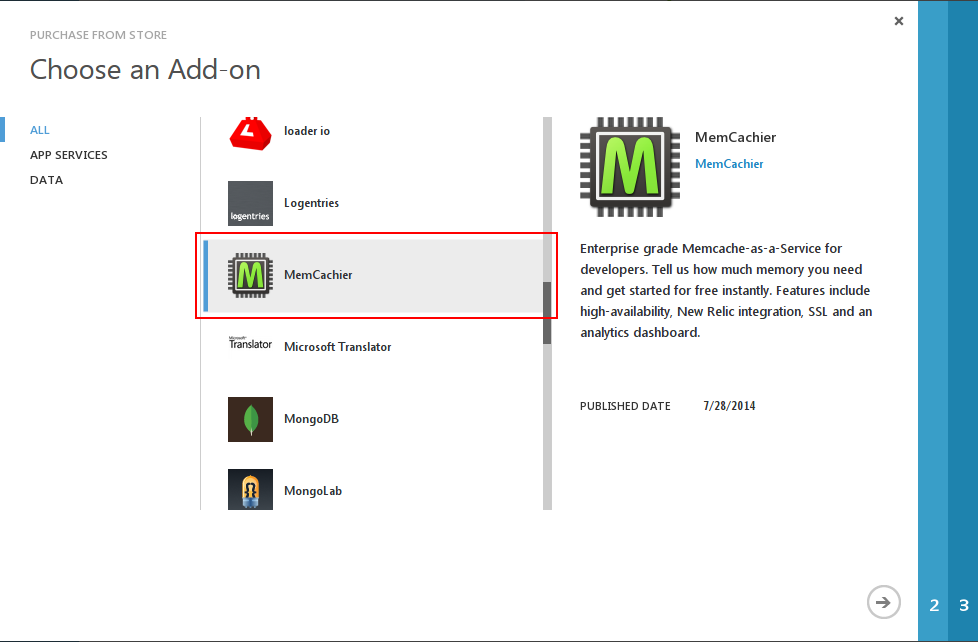
2. Choose MemCachier from the Store
Once in the store menu, you’ll have a long list of services to choose from. Simply scroll down to MemCachier to add the service.
3. Choose your MemCachier plan
Now you’ll have the choice of which MemCachier plan you want. Descriptions are given, but please refer to our plan information and service overview pages for detailed information.
Right now we have introductory pricing on Azure that offers great value!
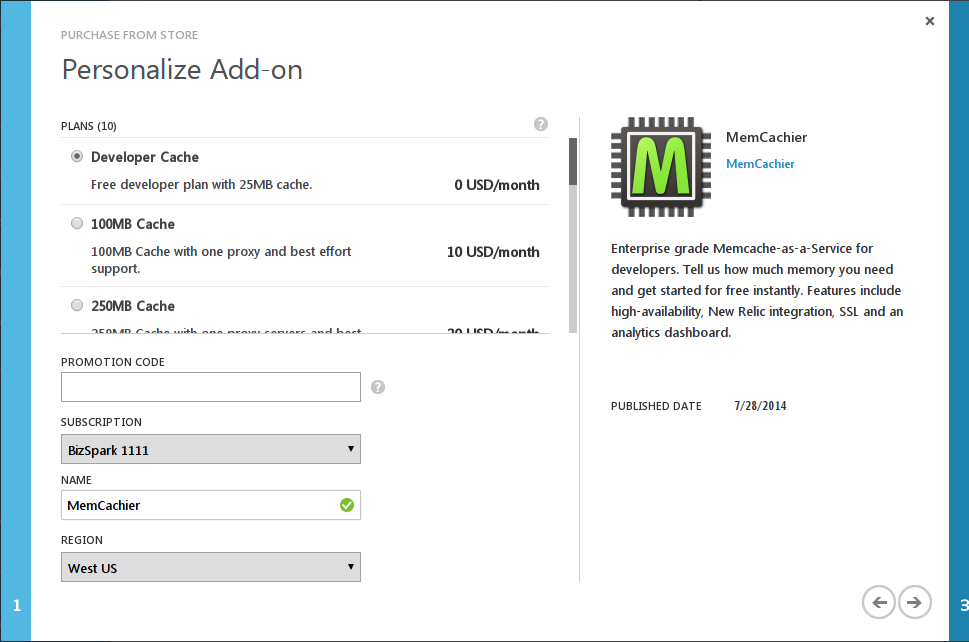
Once your plan is selected, you can click next and you’ll have MemCachier up and running!
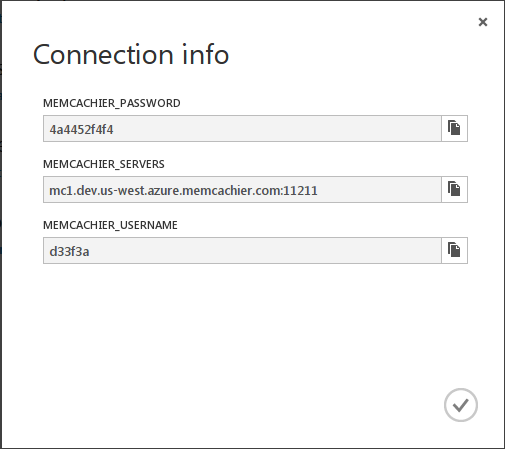
4. Setting up MemCachier
Now that MemCachier is provisioned, you’ll be provided with three
configuration variables. MEMCACHIER_SERVERS, MEMCACHIER_USERNAME
and MEMCACHIER_PASSWORD. These are all you need to configure your
end and have access to a high-performance, fault-tolerant cache! Refer
to our documentation for
setting up specific languages and clients with MemCachier.
5. Manage MemCachier
The Windows Azure interface also allows you to manage MemCachier through it. Simply, click on the ‘Add-Ons’ menu option on the left side.
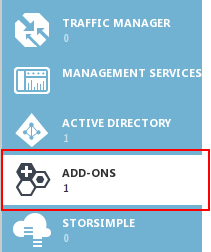
Then select the MemCachier cache you want to manage.

Now, in the bottom black bar for Windows Azure, you should have some options for interacting with MemCachier. These include upgrading (or downgrading) your cache, deleting it and finally, logging into MemCachiers own Analytics Dashboard / Management interface for the cache.

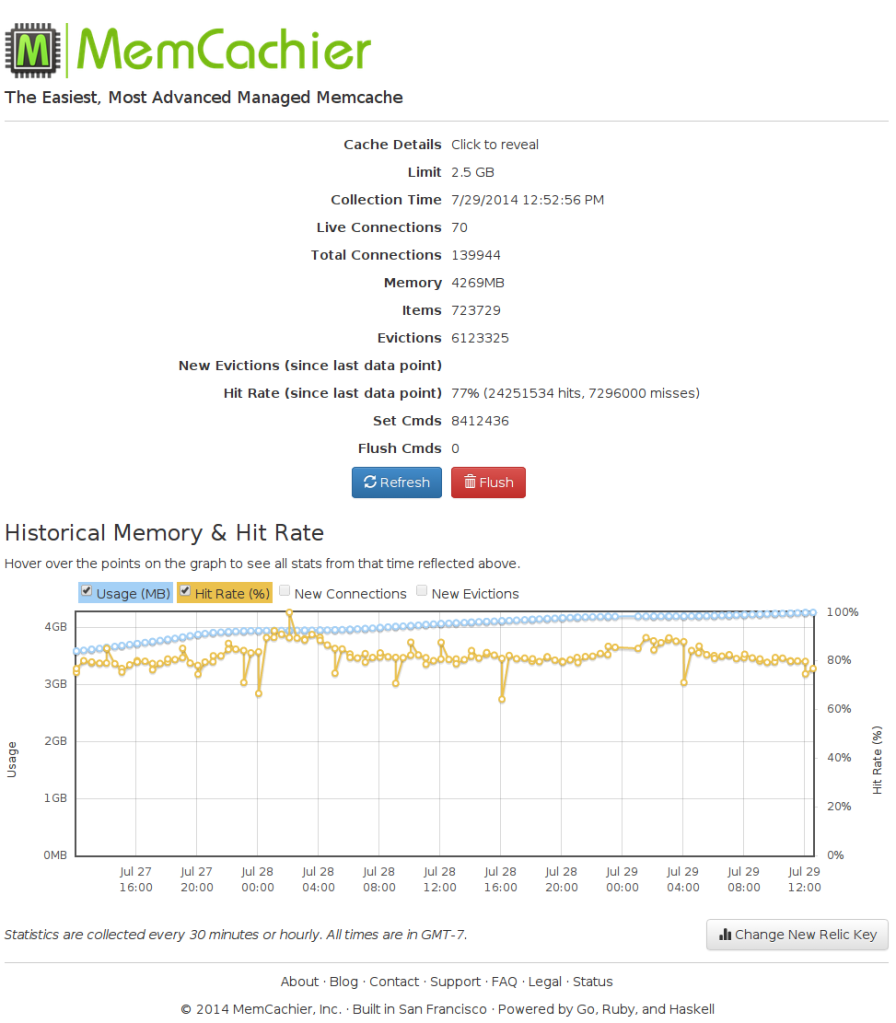
6. Management & Analytics Dashboard
After clicking the ‘Manage’ button, you’ll be logged into our Analytics Dashboard for your cache. Here you can observe your cache performance and behavior, and flush the cache.
7. Enjoy!
Enjoy the benefits of having a managed memcache! High-performance, instant-failover, fault-tolerant and great support! Please always contact us at support@memcachier.com if any concerns or questions.